I realize now that I haven't mentioned what we are using for paint. We're doing the decks with two part Interlux Perfection. The primer for that is a two part primer called Interlux PrimeKote. Hard as nails. Even with just two coats of primer on some parts the fiberglass feels stiffer and is amazingly glossy. And, per Interlux, once this primer is cured you can slap epoxy on top of it and it will bond. Amazing. Chemistry is just amazing.
The interior will be one part Interlux Brightsides, which we are also using for the dinghy. I'm not sure what the primer is called for that. It's the corresponding Interlux product.
Next spring we'll be painting the hull, and will most likely use the Perfection for the hull, with the Brightsides on the bootstripe.
Also, I just ordered toe rail stanchion bases from Holland Marine, made from the Grampian mold. I think this will make a tremendous difference.
Monday, July 19, 2010
Sunday, July 18, 2010
Fairing and priming
She is looking sharp with a cost of primer in the cockpit.

She is starting to look like a different boat.


I made winch covers. Well, a winch cover, for our new size 16 barient winches, the second one defeated me. This multilayered three dimensional sewing thing is much harder than it looks. Thanks for the half assed instructions don Casey.

I used shock cord to make them fit really tightly to the waist of the winch.
Still quite a lot of swing left, and tons more priming.
Post From My iPhone
Wednesday, July 14, 2010
Fairing fairing fairing


With about twenty coats of fairing compound she is starting to look pretty good. The cockpit sole is nice and solid and smooth, the cabinhouse no longer flexes when you walk on it, even with the bulkheads still out of her, and we are almost ready to start applying the fairing primer.
Just have to cut the holes for the windows and thicken up the fiberglass around the openings to make sure they are nice and flat to make a good seal. First we held the window frames up and traced the interior shape with a sharpie, then Matt did the deed and cut PERFECT openings with a jigsaw.
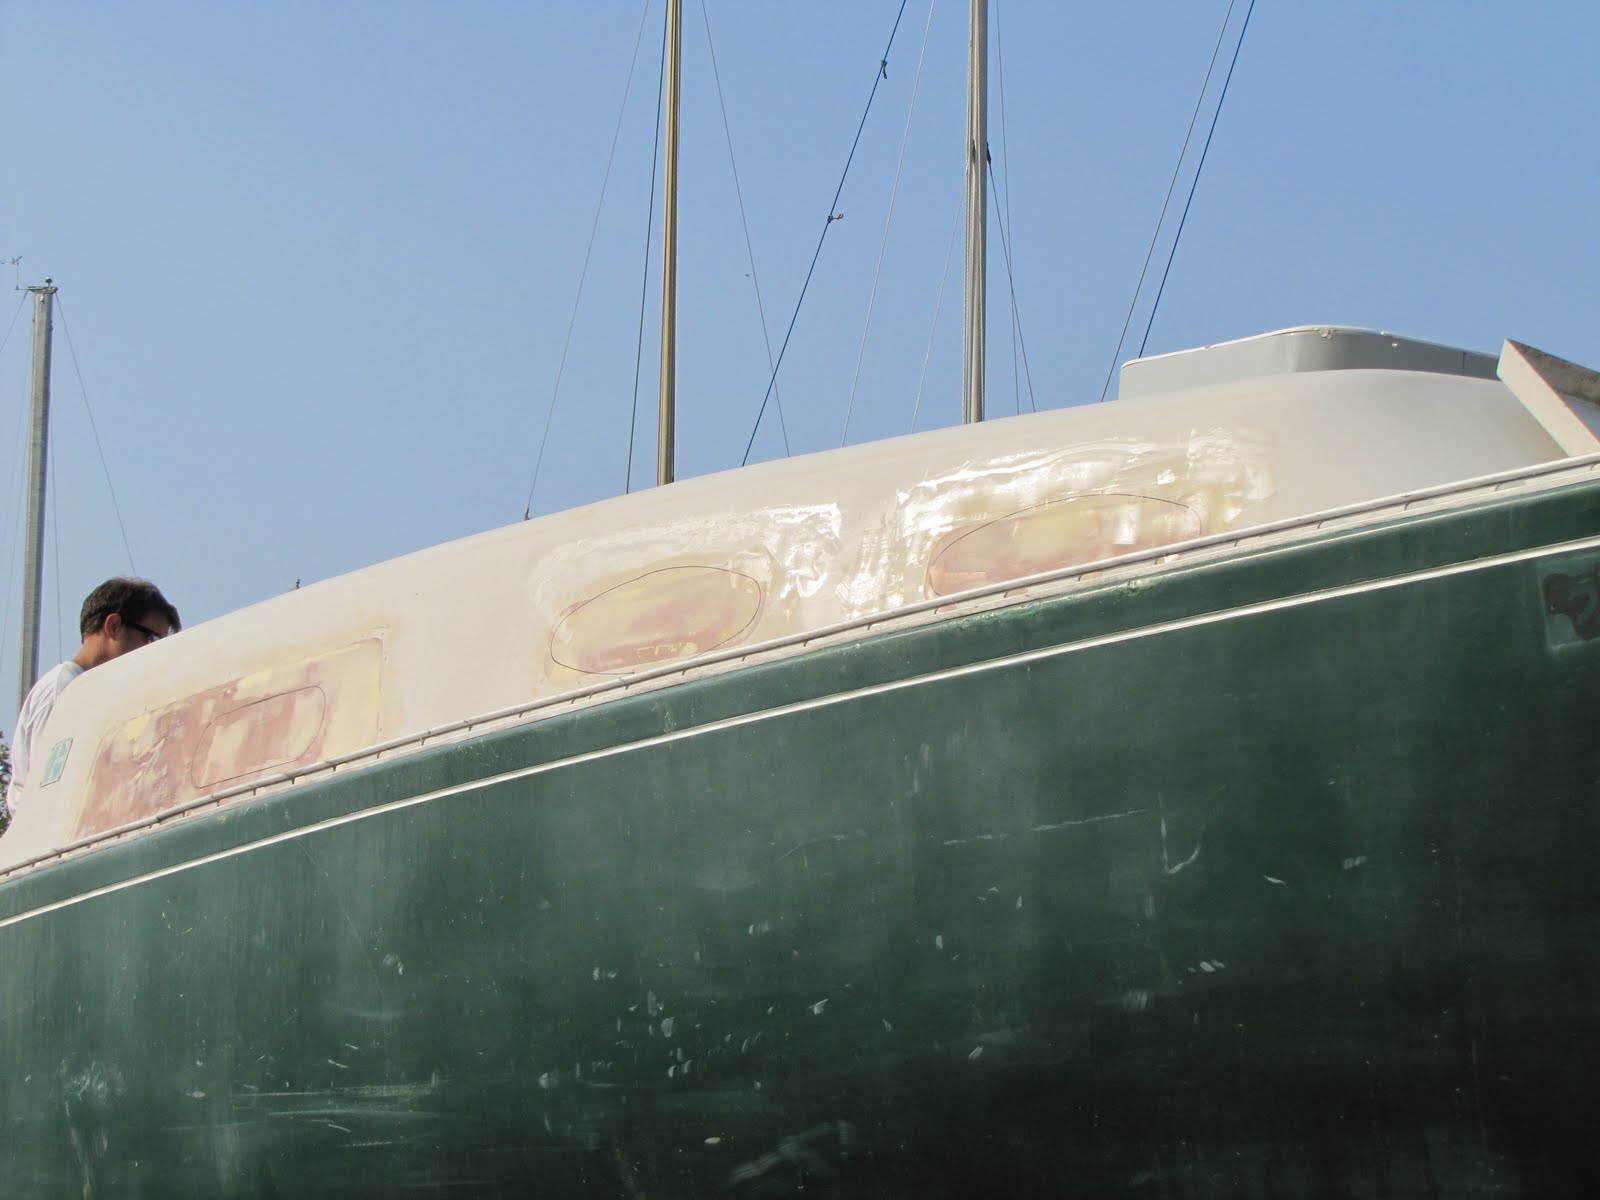

Here is the interior shot.

Can't wait to see it with the primer on. It already looks fabulous.

Matt even glassed over our mis-placed through hull and fixed the fiberglass we had to cut out in the hanging locker so we could fit the seacock into the limited space. Now the through hull sits right under the sink so we can seriously reduce the amount of nasty hose we have to use.

The primer is starting to go on. Can you imagine, but the boat had a pink tint to it before, which we never noticed because we had no basis for comparison.

All the hatch covers laid out on the ground with their first coat of primer drying.

Also throwing some more alkyd enamel on the stowage lids since some of them never got more than one last year and still looked pretty rough.
Coming Next -- Pics of the new handrails, companionway ladder, and misc woodwork.
Random picture
Matt met a fellow sailor who happened to get a picture if his own boat with us in the background. Sigh. Hopefully soon we will be out there again!

-- Post From My iPhone

-- Post From My iPhone
Saturday, July 10, 2010
Long Time No See
I have been remiss in my postings, but the progress has been tremendous.
To address some questions we've received about the cockpit sole, I'd like to say that we knew we needed to do it because about one third of the sole was squishy and produced a sound like water been squeezed in a sponge when pressure was applied. Water was seeping up through the rudder post shaft also. There was about one quarter inch of very alarming flex back there. It was really really apparent. When Matt cut the first hole in it at the very stern, about a gallon of black putrid water gushed out. Again, it was really really apparent. If you're in doubt, I'm sure you're fine.
As to why we are pouring so much energy into this boat, we think about it this way -- we paid 500 dollars for a customizable hull and are now customizing it to be what we want. Also, we are having a crash course in yacht repair, cabinetry, and just about everything else.
In my last post the cockpit sole had just been opened up. We lifted and scraped all of the wood out until there was just a one layer skin of fiberglass in the bottom. We could no longer stand in the cockpit but had to stand inside the lazarette openings on the inside of the hull.

Matt laid a series of squares of plywood down in a bed of thickened expoxy, so each one is isolated to reduce the chance of the entire sole rotting away again.

Meanwhile at home we are working on the bulkheads and the split rudder.
I don't have step by step pictures of the rudder, but I taped up over the split, clamped the two sides tight and poured straight epoxy down into the crack. I did this probably ten times before the crack was completely filled. I sanded it back to its original shape. Now she needs to be covered in Barrier Kote and repainted with bottom paint.
More later, I need to upload additional pictures.
Subscribe to:
Posts (Atom)
